Welcome to the world of Etsy, a global marketplace brimming with creativity and entrepreneurial spirit. If you're a craftsperson, artist, or entrepreneur looking to share your wares with the world, setting up an Etsy shop could be your perfect solution.
This article will guide you through the process of setting up your Etsy shop, from initial account creation to listing your products, integrating print-on-demand services, and finally, launching your store. Let's turn your passion into a business.
Table of Contents
- Step 1: Set up Your Etsy Account
- Step 2: Start Setting Up Your Shop
- Step 3: Choose Your Shop Name
- Step 4: Stock Your Shop
- Step 5: Set Up Your Payment Methods
- Step 6: Set Up Your Billing Methods
- Step 7: Integrating Print-On-Demand Suppliers
- Step 8: Open Your Shop

Step 1: Set up Your Etsy Account
First things first, you need to create your account. Head to Etsy.com, click the "Sign in" button at the top right corner, then click "Register." You can create an Etsy account using your email address, Facebook, or Google account.
We recommend using an email address as it provides you the most control over your account. Ensure to use a strong password that contains letters, numbers, and symbols for security. After inputting your details, click "Register" to proceed.

Step 2: Start Setting Up Your Shop
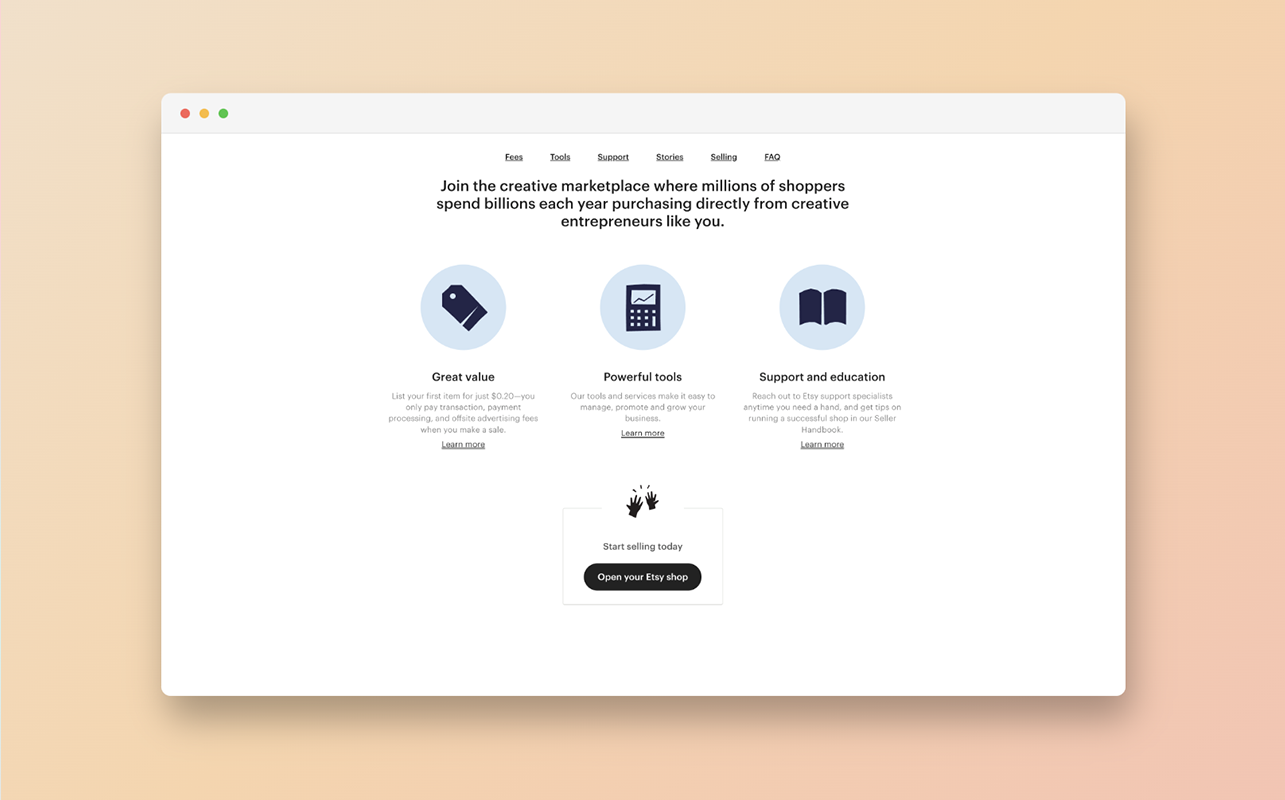
Now that you have an account, it's time to set up your shop. Navigate to "Sell on Etsy" on Etsy.com, or simply visit Etsy.com/sell. Click "Open Your Etsy Shop" and select your shop language, country, and currency preferences. The shop language determines how buyers see your listings, while the shop country and currency will be used for your payment and billing methods.
Step 3: Choose Your Shop Name
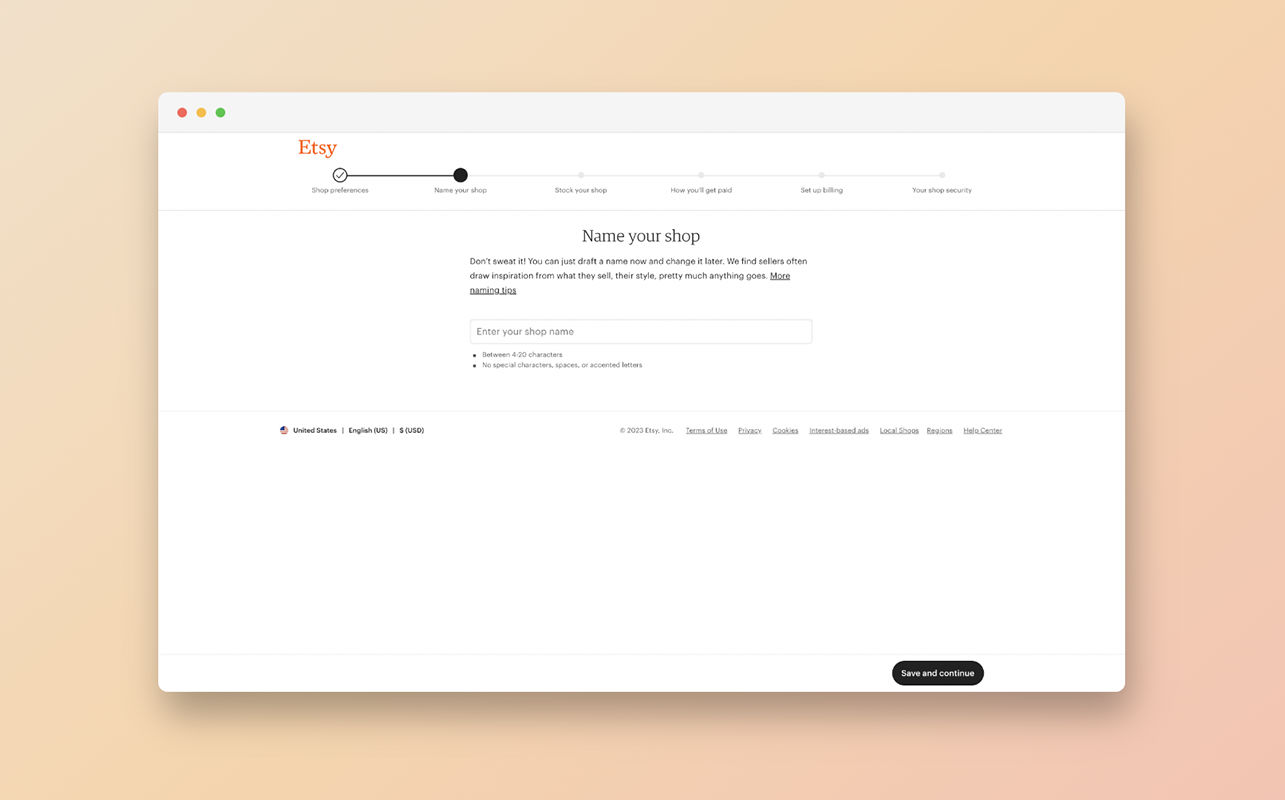
The name of your shop is crucial. It should reflect what you sell and make a lasting impression on potential customers.
Your shop name can be 4-20 characters long and shouldn't contain spaces or special characters. Once you've chosen a name, check its availability. If it's available, you're good to go. If not, don't get discouraged – be creative and try out some variations. Once you're satisfied, click "Save and Continue".
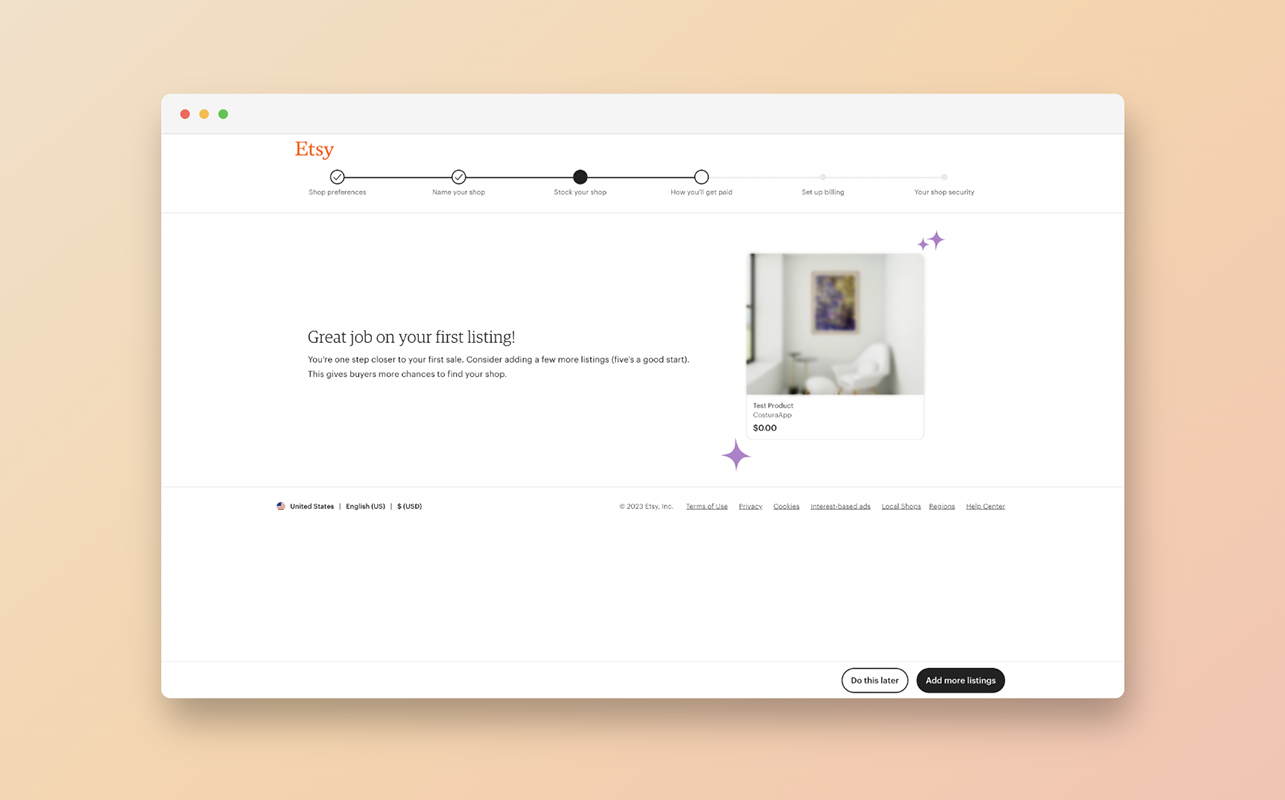
Step 4: Stock Your Shop
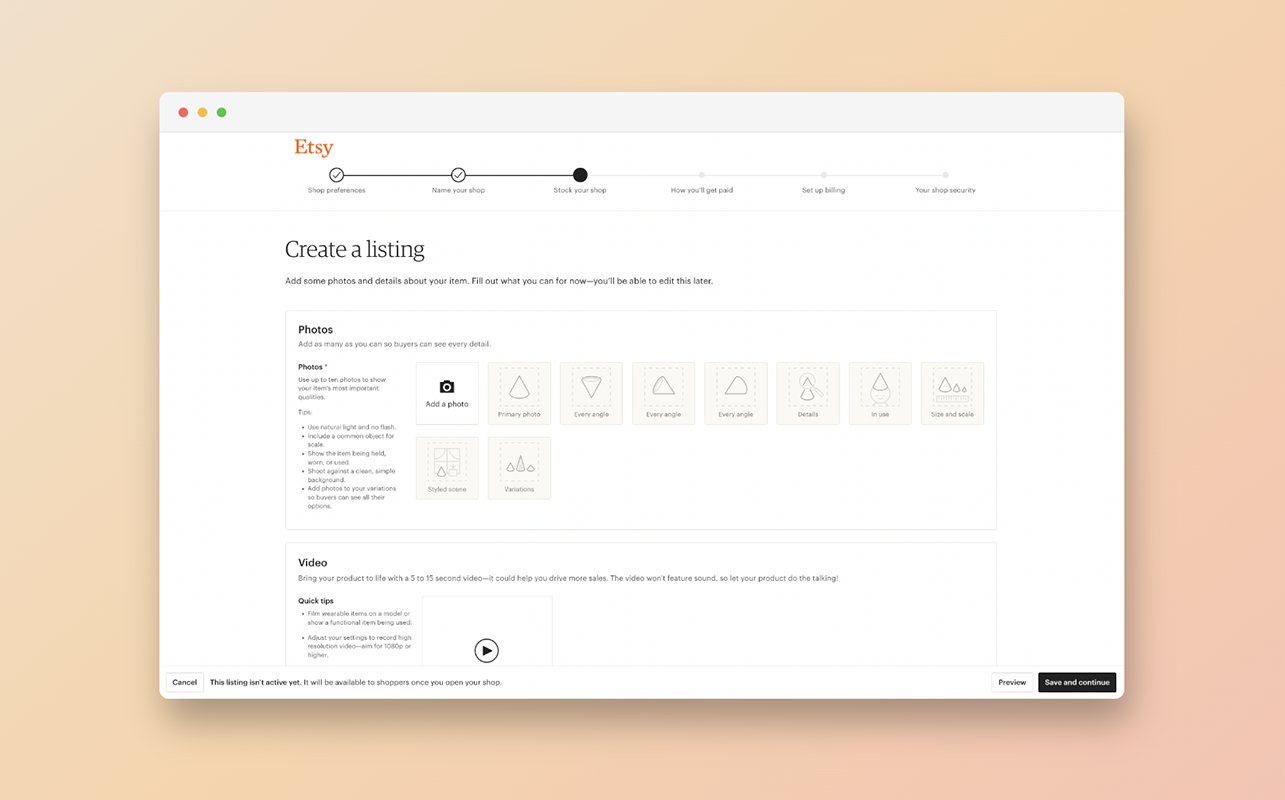
It's time to add products to your shop. Click on "Add a listing" to start. Here, you will upload photos, set the price, create a title, write a description, set up shipping options, and add tags for each product. This step is where you sell your product to potential buyers, so make sure your descriptions are clear, and your photos are high-quality. Remember, the better your product looks, the more likely it is to sell.
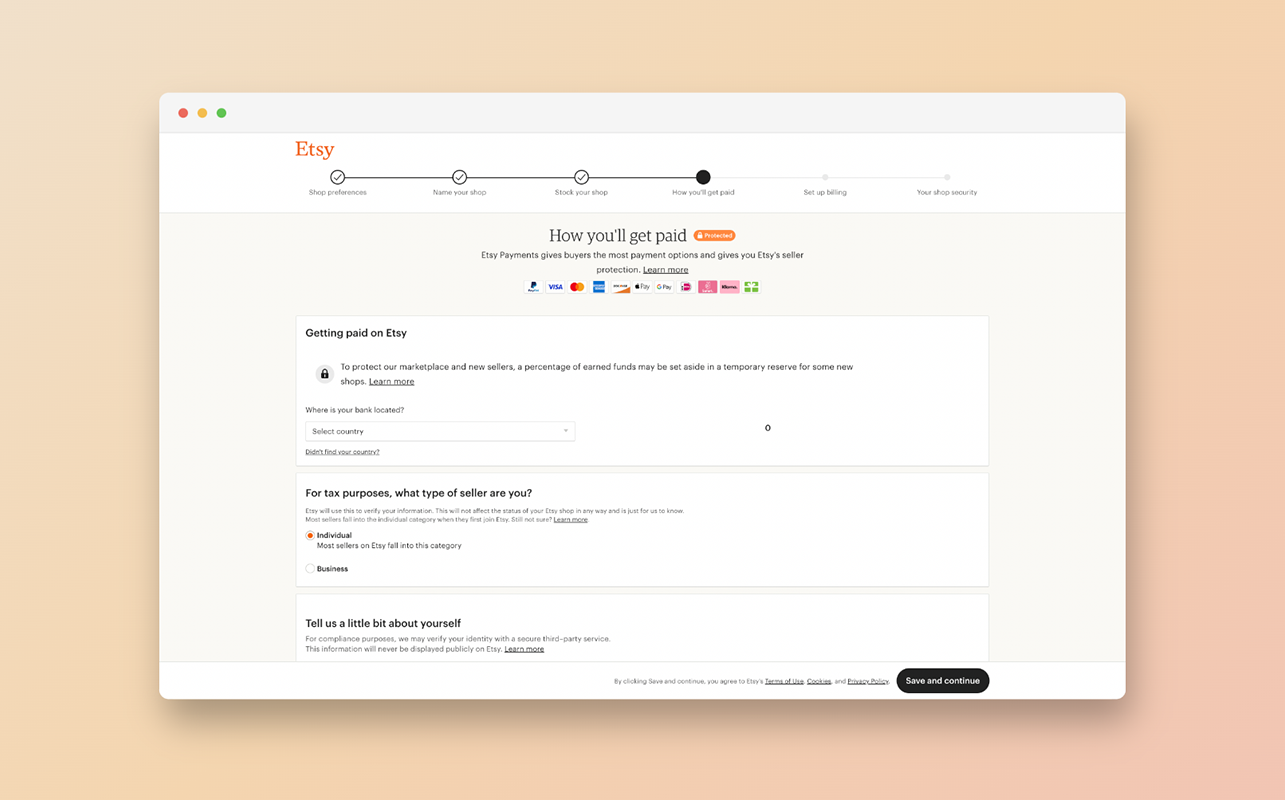
Step 5: Set Up Your Payment Methods
To receive payment from customers, you need to set up payment methods. You can choose to accept payments through Etsy Payments, PayPal, credit cards, debit/bank cards, Etsy Gift Cards and Etsy Credits, some bank transfer services, and Apple Pay. Choose the payment methods that suit your business model and click "Save and continue".
Step 6: Set Up Your Billing Methods
Last but not least, you need to set up a billing method for your shop. The billing method is used to cover your Etsy fees, such as listing fees, transaction fees, and subscription fees, if applicable. You can choose from a credit card, debit card, or PayPal account for your billing method. Once you've chosen, click "Save and Continue".

Step 7: Integrating Print-On-Demand Suppliers
Print-on-demand (POD) services are an excellent way for Etsy sellers to offer a wider range of products without worrying about production or inventory management. POD services will create and ship your products only when an order is made, making it a cost-effective and scalable solution. Here's how to integrate a POD supplier to your Etsy shop:
First, select a POD service that aligns with your brand and product offerings. There are various POD services out there, including Printful, Printify, Gooten, and many more. Each provider comes with its own advantages and features, so make sure to research and choose the one that best fits your needs.
Once you've chosen a POD provider, you'll need to create an account with them. Just like Etsy, sign up with an email and secure password. Some POD services may also offer an option to sign up via Facebook or Google. After signing up, you'll be taken to your new POD dashboard.
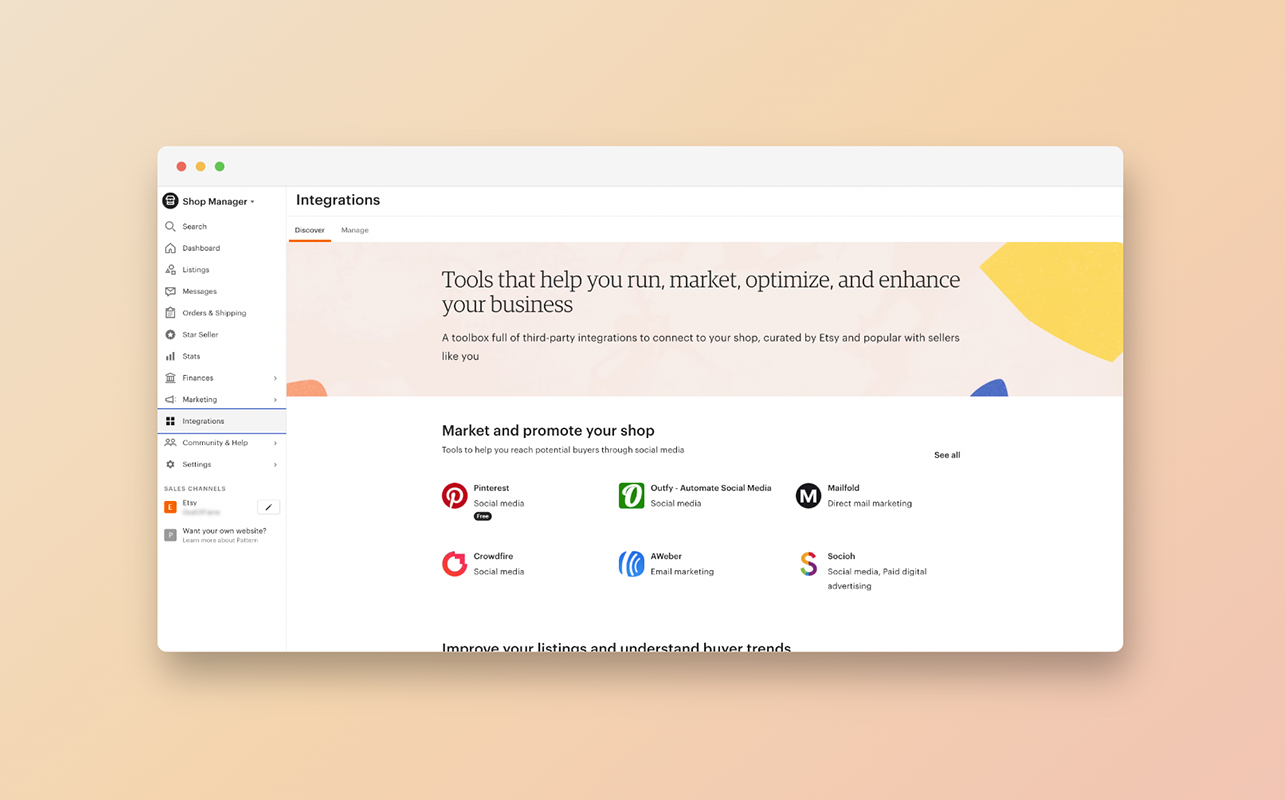
Next, you'll need to connect your Etsy shop to your POD account. The exact steps might vary slightly depending on your POD service provider, but usually, you'll find an "Etsy" button in the "Integrations" or "Connect a new store" section of your POD dashboard. Click it, and you'll be asked to sign in to your Etsy account and give the POD service permission to access your store.
Once your Etsy store is connected to your POD provider, you can begin creating new products. You'll upload your design, choose the product type (like t-shirts, mugs, posters, etc.), and set the price. When you're happy with the product, you can publish it directly to your Etsy shop.
Now, when a customer orders the product from your Etsy store, the order is automatically sent to your POD provider. They will print the design, package the product, and ship it directly to your customer. This seamless integration makes it possible for you to focus more on your designs and less on production and shipping logistics.
Remember, while integrating POD suppliers can save you time and resources, it's crucial to ensure the quality of the products and the reliability of the supplier. Always ask for samples before committing to a POD service, and make sure they align with your brand and quality expectations.
Step 8: Open Your Shop
Finally, you're ready to open your shop! Review your settings and ensure that everything is correct. If you're sure that everything is in order, click "Open Your Shop." Congratulations, you've officially joined the ranks of Etsy sellers!
Creating an Etsy store requires planning, effort, and creativity. But with the right approach, it can be an incredibly rewarding venture. Remember, running a successful Etsy shop doesn't stop at opening the shop. It's about continuous effort, customer service, and regular updates. Good luck on your Etsy journey!

Conclusion: The Journey to Etsy Success
Starting your own Etsy shop is an exciting journey into the world of online entrepreneurship. Each step you take brings you closer to connecting with customers from around the globe, eager to discover and purchase your unique creations.
Whether you're making handmade items or utilizing print-on-demand suppliers, remember to stay true to your brand and always aim for the highest quality. The road to success may not be easy, but with dedication, creativity, and a customer-focused approach, your Etsy shop can flourish. Good luck, and happy selling!If you subscribe to a service from a link on this page, we may receive a small commission at no additional cost to you. We only link to things we personally use and recommend.


